Easy Woocommerce Facebook Pixel Integration Setup With No Code
If you’re ready to install your Woocommerce Facebook Pixel without touching a line of code then this is the guide for you.
In this guide you’ll learn
How to setup your Facebook pixel on your Woocommerce store in 5 minutes without touching a line of code
Why the Facebook Pixel is CRITICAL to your Facebook success
How to use Facebook Conversion events to create profitable ads and audiences.
Why Is The Facebook Pixel Important?
Installing your Woocommerce Facebook Pixel is critical for your business because it helps you determine the ROI of your marketing efforts.
The pixel gives you a chance to see if people are clicking on ads, what products they’re purchasing and how many times they’ve visited your site within a specific period of time.
All this information is CRITICAL when determining the success or failure of marketing campaigns.
The two BIG reasons why you need the Facebook Pixel on your installed on your Woocommerce site is because:
Profitable Ads
The more information you collect about the people interacting with your website (buying your products) and your ads, the better Facebook gets at finding other people who like to interact with your products, your ads.
And the only way to do this is to tell Facebook anytime someone does something significant on your website. And you do that through Conversion Events (more on this in a sec but its a big reason why most people set their pixel wrong)
Profitable Audiences
It took a little while for me to understand this but there’s different buckets of people that interact with your website and you need to talk to them differently in order to get them to take action.
For example the most profitable audiences are those who have interacted with your brand / website before like:
Those who heard about your brand
Seen your product
Like your product enough to add it to the cart
Buy your product
People who “LOOK LIKE” your best customers and subscribers
Setting up your Woocoomerce Facebook Pixel makes it EASY to remarket to these audiences and get them to take action (buy your product or service)
So now that you know all of this lets get started!
You don’t want to be running Facebook Ads for your business without a Facebook Manager Account Setup.
Plus it only takes about 5 minutes to set up so you really have no excuse.
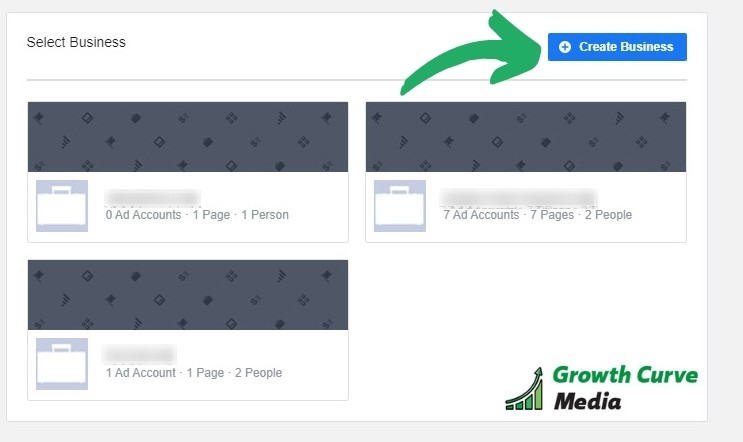
Click to Zoom
Click on the business manager you want to set up (I currently have access to 3 as you can see but in most cases you’ll only have one listed)
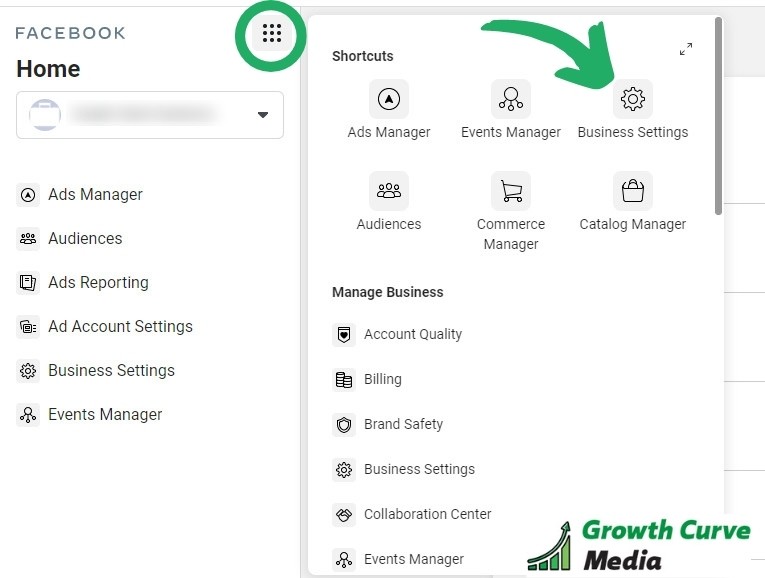
B - Once you’re logged into your Business Manager go to your Business Settings
Click to Zoom
C - Click on Data Sources Then Click on Pixels
Click to Zoom
D - Click Add
Click to Zoom
E - Give your pixel a name (ex: “Your Site Pixel” - Bubba Gump Pixel)
Click to Zoom
No need to enter your URL if prompted.
Click continue and any other prompts that may appear to complete the setup of your pixel
Click Set up the Pixel Now
Click Cancel on the Website Activity window popup (if prompted)
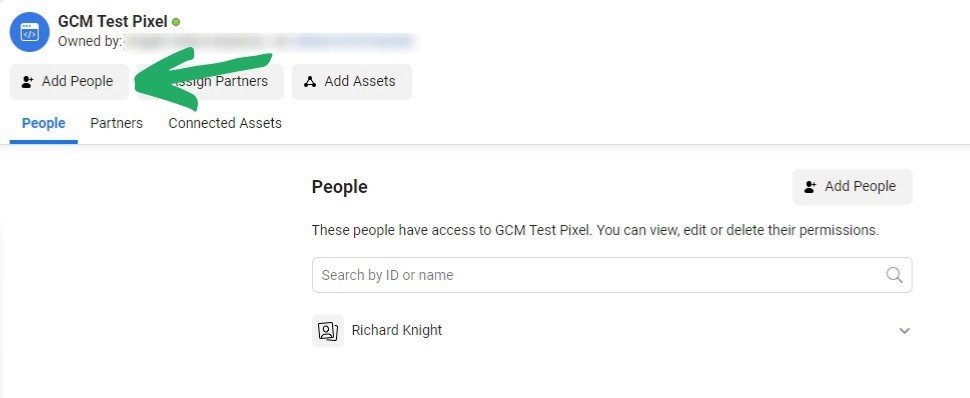
F - Click on “Add People”
Click to Zoom
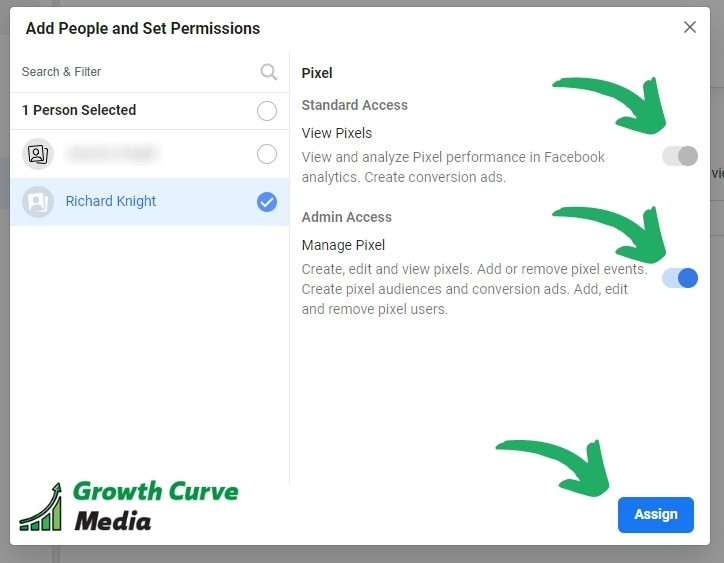
Make sure you add yourself and whoever else you want to have access to this pixel
Click Assign
Click to Zoom
Pat Yourself On The Back!
Your Facebook Pixel is Officially Created and You Now Have Full Access To Use It!
Now it’s Time to Integrate Your Facebook Pixel With Woocommerce!
Step 2 - Install the Best Woocommerce Facebook Plugin I've Ever Used So Far
There’s a number of Woocommerce Facebook Plugins but there is one that I use on all of my sites and recommend all of my clients use on their Woocommerce sites and it’s called Pixel Your Site.
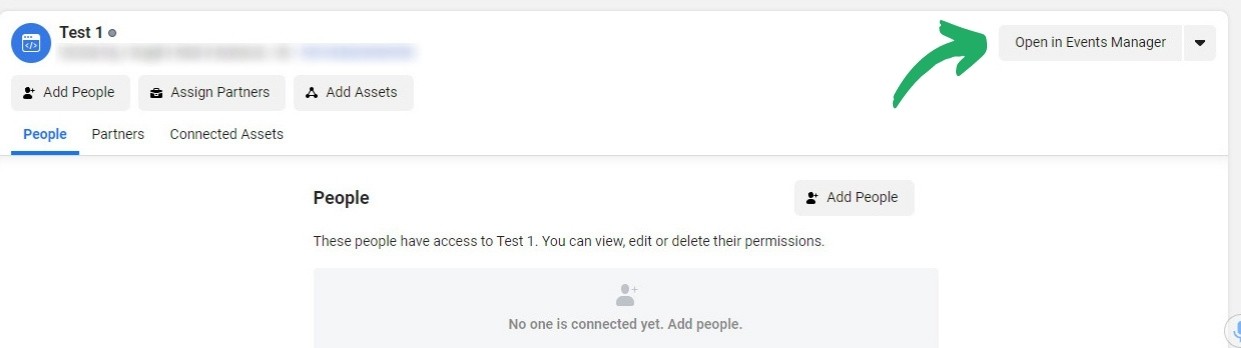
A - Go to your Pixel in Facebook Business Manager and click "Open in Events Manager"
- https://business.facebook.com
If you’re not sure of where to access your Facebook Pixel follow steps A, B, C in section 1 above.
Click to Zoom
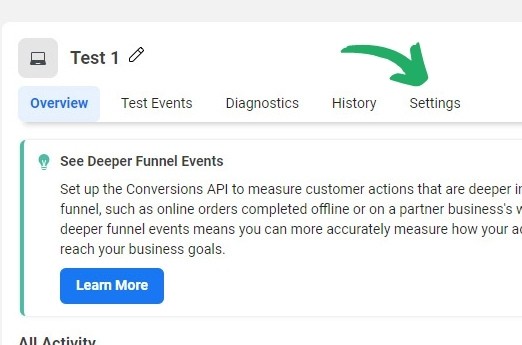
B - Click on Settings
Click to Zoom
C - Find and Copy Your Pixel ID
Click to Zoom
** Open up notepad or a text editor and paste it in there (We’ll be using it in the next section)
Step 3 - Find and Copy Your Pixel ID
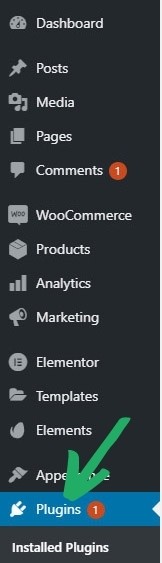
A - Go to the Plugins Section of your website.
Click to Zoom
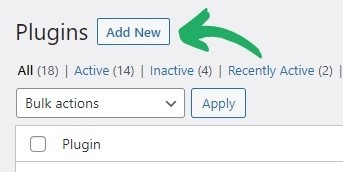
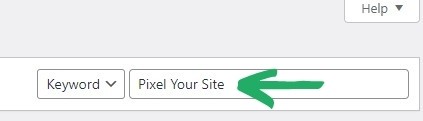
B - Click "Add New Plugin"
C - In the Search bar to the right type in: "Pixel Your Site"
Click to Zoom
D - Install and Activate the plugin
Click to Zoom
Click to Zoom
Step 4 - Add Your Facebook Pixel to Your WordPress Site and Optimize It For Woocommerce
A - Click on Pixel Your Site in the left side bar
Click to Zoom
B - Paste your Pixel ID in the Facebook Pixel ID field.
Click to Zoom
C - Scroll down to the bottom of the page and click “Save Settings”
Click to Zoom
** HOORAY – YOUR PIXEL IS INSTALLED AND READY TO HELP YOU GROW YOUR BUSINESS!
Step 5- Optimize Pixel Your Site For Your Woocommerce Store
A - Go to the Woocommerce tab in the Pixel Your Site Plugin
Click to Zoom
B - Make sure Enable Woocommerce set-up is ENABLED (it should by default)
Even though this should be done by default I still want you to check because this is what sends all those delicious events to Facebook whenever someone does something important like View a product or Completes a Purchase.
Click to Zoom
C - Ensure that the “On Add to Cart button clicks” is ENABLED
Scroll down to the “How to capture Add to Cart action” section to see these options.
This ensures that when someone takes the action of adding something to their cart even if they don’t make it to your cart page that action will still be tracked.
Click to Zoom
This setting is important because more themes are allowing users to Add Items to the cart without being redirected to the Cart page. Personally, I don’t redirect my customers to the Cart page once they add an item to the cart.
D - Go to the Facebook ID Setting Section
IMPORTANT – If you have or create SKUs for your products (which I highly recommend) then select Product SKU under the content_id section like the image below.
* If you choose this option then I would highly recommend you create and add your SKUs to ALL of your products and their variation BEFORE running ads.
Click to Zoom
You Rock!
Your Woocommerce Facebook Pixel Is Ready To Help You Grow Your Business And Domintate Your Competition!
Search Our Site
We and our partners use information collected through cookies and similar technologies to improve your experience on our site, analyse how you use it and for marketing purposes. You can find out more in our privacy policy, and manage your consent at any time.
We and our partners use information collected through cookies and similar technologies to improve your experience on our site, analyse how you use it and for marketing purposes. Because we respect your right to privacy, you can choose not to allow some types of cookies. However, blocking some types of cookies may impact your experience of the site and the services we are able to offer. In some cases, data obtained from cookies is shared with third parties for analytics or marketing reasons. You can exercise your right to opt-out of that sharing at any time by disabling cookies.
These cookies and scripts are necessary for the website to function and cannot be switched off. Theyare usually only set in response to actions made by you which amount to a request for services, suchas setting your privacy preferences, logging in or filling in forms. You can set your browser to block oralert you about these cookies, but some parts of the site will not then work. These cookies do notstore any personally identifiable information.
Analytics
These cookies and scripts allow us to count visits and traffic sources, so we can measure and improve the performance of our site. They help us know which pages are the most and least popular and see how visitors move around the site. All information these cookies collect is aggregated and therefore anonymous. If you do not allow these cookies and scripts, we will not know when you have visited our site.
Embedded Videos
These cookies and scripts may be set through our site by external video hosting services likeYouTube or Vimeo. They may be used to deliver video content on our website. It’s possible for the video provider to build a profile of your interests and show you relevant adverts on this or other websites. They do not store directly personal information, but are based on uniquely identifying your browser and internet device. If you do not allow these cookies or scripts it is possible that embedded video will not function as expected.
Marketing
These cookies and scripts may be set through our site by our advertising partners. They may be used by those companies to build a profile of your interests and show you relevant adverts on other sites. They do not store directly personal information, but are based on uniquely identifying your browser and internet device. If you do not allow these cookies and scripts, you will experience less targeted advertising.
Facebook Advanced Matching
Facebook Advanced Matching can improve ads attribution and conversion tracking. It can help us reach better-targeted custom audiences through our ads. When possible, we will share with Facebook hashed information like your name, phone, email, or address.
Facebook CAPI
Facebook Conversion API Events (CAPI) help us better understand how you interact with our websites. They allow us to measure the impact of our ads on the website's conversions and they improve ads targeting through custom audiences. When possible, we might share with Facebook information like name, email, phone, address.